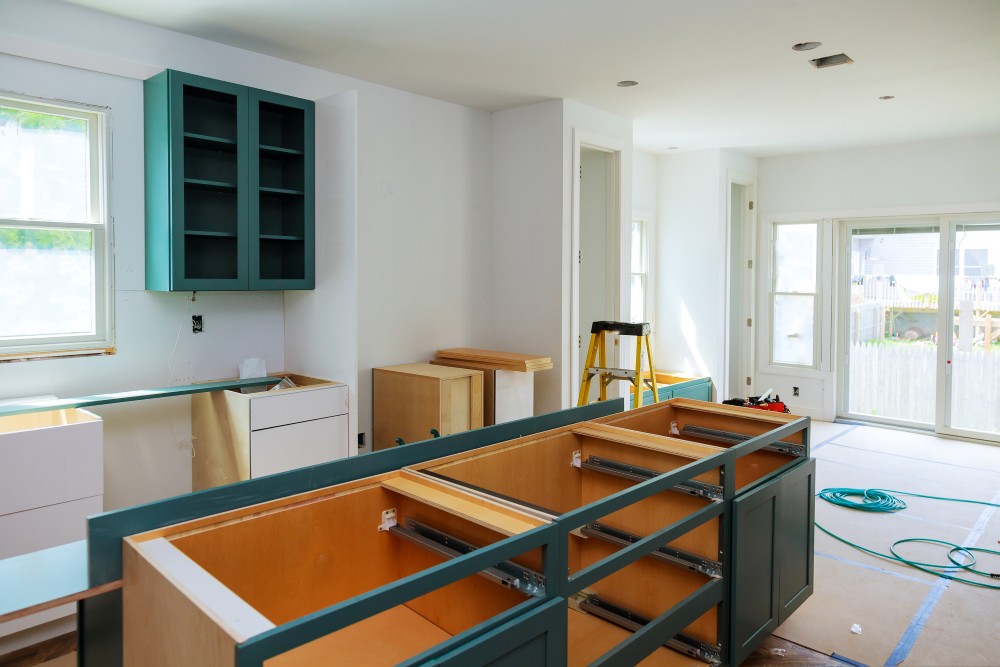
Let me guess – you’re staring at your kitchen cabinets right now, aren’t you? Those honey oak monstrosities from 1995 or the builder-grade maple that’s screaming “basic” at the top of its wooden lungs. Here’s the beautiful truth I’ve discovered after watching hundreds of homeowners transform their kitchens: painting kitchen cabinets is probably the single most dramatic change you can make for the least amount of money.
I’m talking about transformations that’ll make your neighbors stop mid-jog to peer through your windows. We’re talking about Instagram-worthy results that cost less than a weekend getaway. And the best part? You don’t need to be Bob Vila to pull this off.
The Cabinet Painting Revolution: Why Everyone’s Doing It
Here’s something that might surprise you – kitchen cabinet painting has become the gateway drug to home renovation. I’ve seen it happen countless times: someone starts with a simple cabinet makeover and ends up with a completely transformed space. It’s like getting a taste of what’s possible and suddenly realizing your whole kitchen has potential.
The numbers don’t lie either. While a full cabinet replacement can run you $15,000 to $25,000, a professional paint job typically costs $3,000 to $8,000. Do it yourself? You’re looking at $200 to $800 in materials. That’s not a typo – we’re talking about the same visual impact for literally a fraction of the cost.
The Psychology Behind Color Transformation
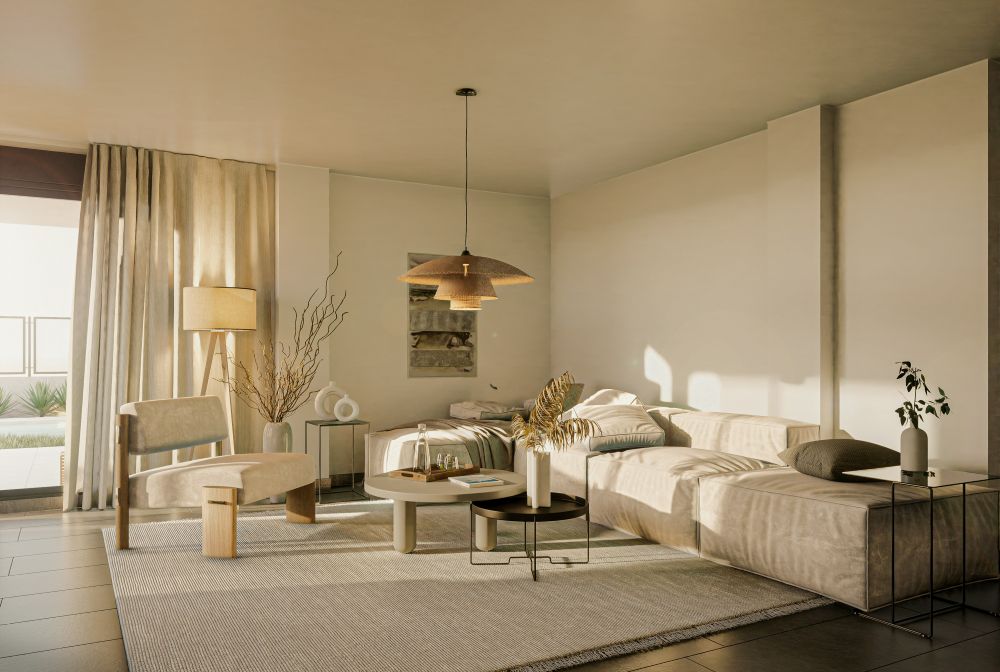
Color isn’t just decoration – it’s emotion in liquid form. When you’re deciding how to paint kitchen cabinets, you’re not just choosing a hue; you’re choosing how you want to feel every single morning when you stumble in for coffee.
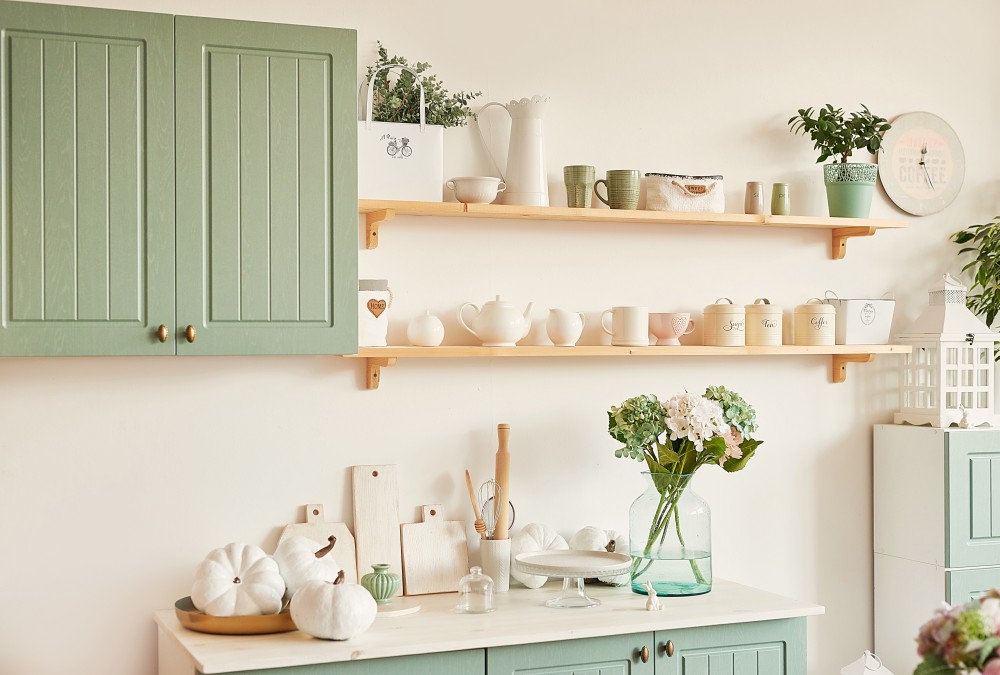
I remember Michelle from Denver, whose dark cherry cabinets made her kitchen feel like a cave. Three coats of crisp white paint later, and she swears her kitchen feels twice as large. That’s not just perception – lighter colors actually reflect more light, making spaces appear bigger and brighter.
The Color Psychology Breakdown:
White: Clean, timeless, makes everything feel larger Navy Blue: Sophisticated, calming, pairs beautifully with brass hardware
Sage Green: Nature-inspired, trendy, creates a spa-like atmosphere Charcoal Gray: Modern, dramatic, hides fingerprints like a champ Black: Bold, contemporary, makes a serious design statement

DIY Kitchen Cabinet Painting: The Complete Step-by-Step Process
Alright, let’s get into the nitty-gritty. Painting cabinets DIY isn’t rocket science, but it’s definitely more involved than slapping some paint on a bedroom wall. The difference between a professional finish and an obvious DIY job comes down to preparation and patience.
Phase 1: The Great Cabinet Inventory (Day 1)
Before you touch a single brush, you need to become intimately familiar with your cabinets. Take photos of everything – and I mean everything. Door placement, hinge locations, hardware positions. Trust me, three weeks into this project when you’re staring at 47 identical cabinet doors, you’ll thank me for this advice.
What You’ll Need for Assessment:
- Camera or smartphone
- Measuring tape
- Notepad for labeling system
- Masking tape for numbering doors
Phase 2: Demolition Day (Days 2-3)
This is where things get real. Remove all doors, drawers, and hardware. Clean out every cabinet completely – you’d be amazed what lurks in the back corners of kitchen cabinets. I once found a jar of pickles with an expiration date from the Clinton administration.
Pro Tip: Create a hardware station using small plastic bags labeled with masking tape. Nothing’s worse than having beautiful freshly painted cabinets and no idea which screws go where.
| Task | Time Required | Difficulty Level | Tools Needed |
| Door Removal | 2-3 hours | Easy | Drill, screwdriver |
| Hardware Removal | 1-2 hours | Easy | Screwdrivers |
| Cabinet Cleaning | 2-4 hours | Easy | Degreaser, rags |
| Surface Prep | 4-6 hours | Moderate | Sandpaper, tack cloth |
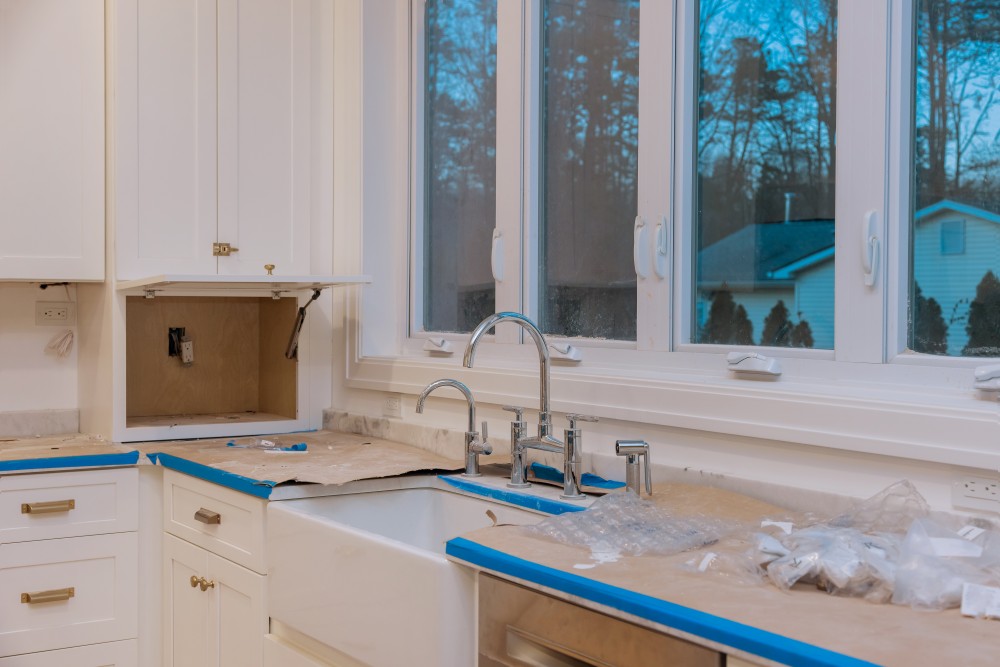
Phase 3: The Foundation – Cleaning and Prep (Days 4-5)
Here’s where most DIYers mess up. They get excited about the painting part and rush through prep. Don’t be that person. Kitchen cabinet prep is like skincare – the boring stuff you do beforehand determines how good the final result looks.
The Deep Clean Process:
- Degrease everything – kitchens are grease magnets, and paint doesn’t stick to grease
- Fill any holes or dents with wood filler
- Sand lightly – you’re not trying to strip the wood, just create a surface paint can grip
Wipe down with tack cloth – remove every speck of dust
Phase 4: Primer – Your New Best Friend (Day 6)
I cannot stress this enough – primer for kitchen cabinets is not optional. It’s the difference between a paint job that lasts ten years and one that starts chipping after ten months. Even if you’re going from light to light or dark to dark, primer ensures proper adhesion and color accuracy.
Best Primers for Different Situations:
- Oil-based primer: Best for glossy surfaces or dramatic color changes
- Bonding primer: Perfect for laminate or previously painted surfaces
- Shellac primer: The nuclear option for stain bleeding or odor sealing
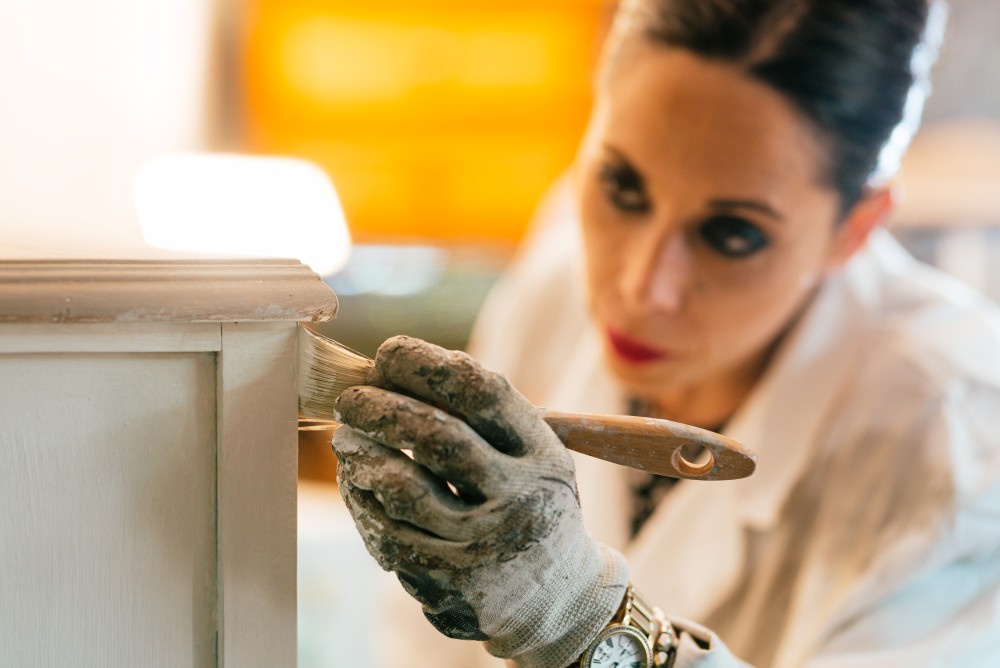
Apply primer with a high-quality brush for detailed areas and a foam roller for flat surfaces. The goal is thin, even coats – not thick, gloopy coverage.
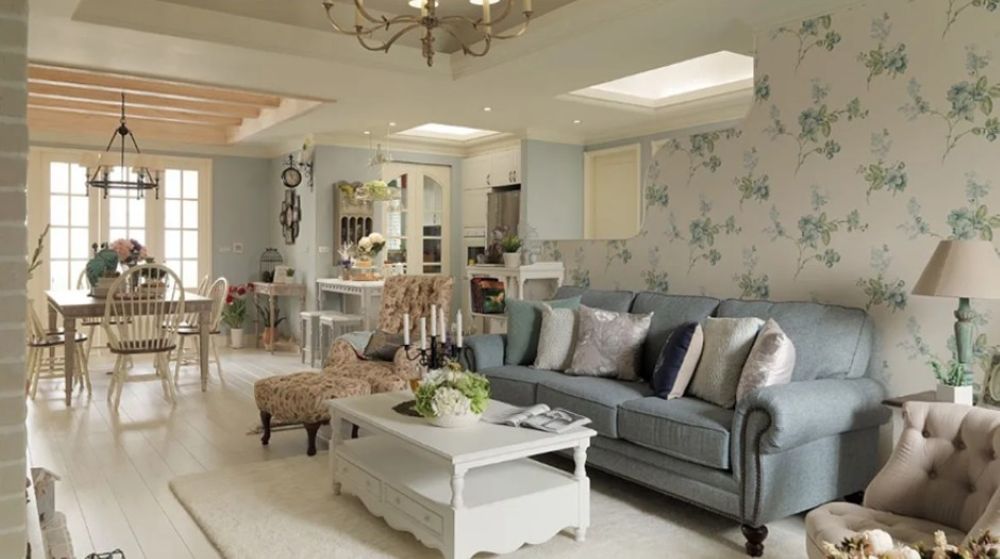
The Paint Selection Game: Choosing Your Perfect Color
This is where things get fun and slightly overwhelming. Kitchen cabinet paint colors have exploded beyond the traditional white-or-wood paradigm. The key is choosing something you’ll still love when the Pinterest trend cycle moves on.
The Timeless Classics:
Simply White (Benjamin Moore): The gold standard of cabinet whites Naval (Sherwin Williams): The navy that launched a thousand kitchen renovations
Agreeable Gray (Sherwin Williams): The greige that makes everyone happy Hale Navy (Benjamin Moore): Sophisticated blue that works in any style kitchen
The Trendy But Risky:
Sage Green: Beautiful now, but will you love it in five years? Black: Dramatic and stunning, but shows every fingerprint Bold Colors (Red, Yellow, Orange): Great for accent islands, risky for all cabinets
The Painting Process: Where Magic Happens (Days 7-10)
Best paint for kitchen cabinets isn’t your average wall paint. You need something that can handle daily abuse from sticky fingers, steam, and the occasional flying spaghetti sauce. Look for paints specifically designed for cabinets and trim.
My Go-To Paint Recommendations:
Premium Options:
- Benjamin Moore Advance (alkyd-based, self-leveling)
- Sherwin Williams ProClassic (smooth finish, excellent durability)
Budget-Friendly Winners:
- Behr Alkyd Semi-Gloss (great value, widely available)
- Rust-Oleum Cabinet Transformations (kit includes everything)
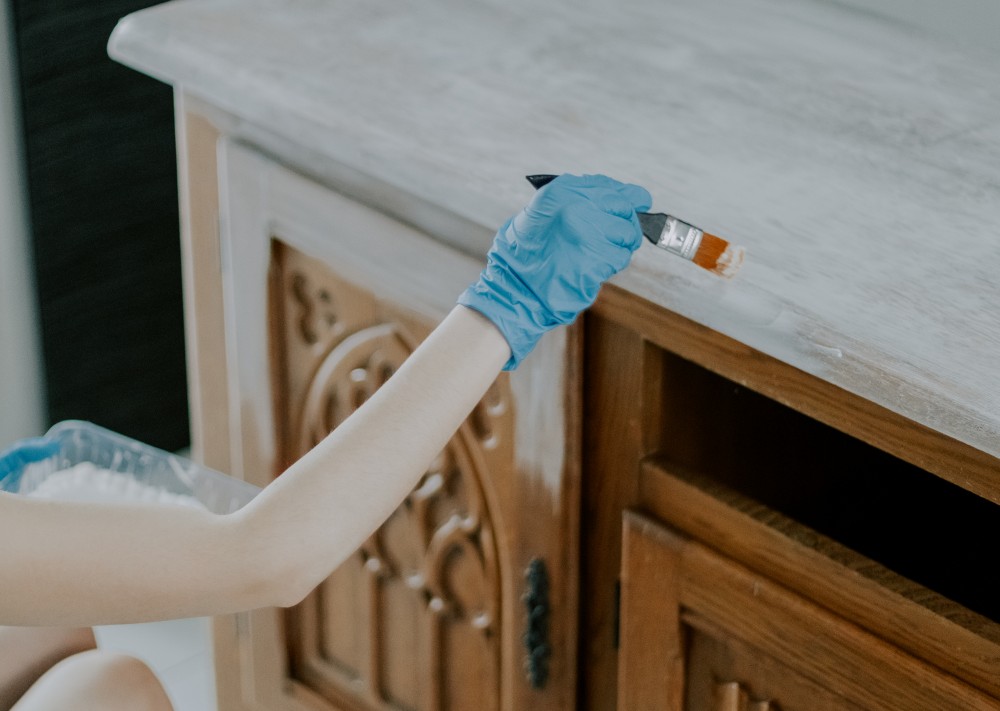
The Application Technique:
Brush and Roll Method:
- Brush paint into detailed areas and grooves
- Roll flat surfaces with a foam roller
- Lightly brush over rolled areas to eliminate texture
Spray Method (Advanced):
- Requires proper ventilation and equipment
- Provides the smoothest professional finish
- Higher learning curve but superior results
Common Mistakes That’ll Ruin Your Paint Job
After seeing countless kitchen cabinet painting projects, I’ve noticed the same mistakes happen repeatedly. Learn from other people’s pain:
The Rush Job Syndrome
Patience isn’t just a virtue in cabinet painting – it’s the difference between success and disaster. Each coat needs proper drying time. Rushing leads to sticky, uneven finishes that never fully cure.
Hardware Replacement Regret
You’ve spent all this time and effort painting your cabinets, and then you put back those brass handles from 1987? New hardware is like jewelry for your cabinets. Budget for it.
The Single Coat Fallacy
One coat of paint might cover, but it won’t protect. Plan for primer plus two coats of paint minimum. Your future self will thank you when the cabinets still look fresh years later.
Cost Breakdown: DIY vs. Professional Cabinet Painting
Let’s talk money, because I believe in transparency. Here’s what you’re actually looking at cost-wise:
DIY Cabinet Painting Costs:
Basic DIY Kit:
- Paint (2-3 gallons): $100-$200
- Primer (1-2 gallons): $50-$100
- Brushes and rollers: $50-$75
- Sandpaper and supplies: $25-$50
- Total: $225-$425
Premium DIY Setup:
- High-end paint: $200-$400
- Professional brushes: $75-$150
- Paint sprayer rental: $100-$200
- Additional supplies: $75-$100
- Total: $450-$850
Professional Painting Costs:
- Basic professional job: $3,000-$5,000
- Premium with prep work: $5,000-$8,000
- Full refinishing service: $8,000-$12,000
Timeline Reality Check: How Long Does This Actually Take?
Here’s the truth about how long to paint kitchen cabinets – it’s not a weekend project. Anyone telling you otherwise is selling something or has never done it properly.
Realistic Timeline for Average Kitchen (20-30 doors):
- Planning and prep: 2-3 days
- Removal and cleaning: 1-2 days
- Priming: 1-2 days (including dry time)
- Painting: 2-3 days (multiple coats)
- Reassembly: 1 day
- Total: 7-11 days
Factor in drying time between coats, and you’re looking at 2-3 weeks of living with a partially functional kitchen. Plan accordingly.
The Hardware Upgrade: Don’t Forget the Jewelry
Kitchen cabinet hardware is like the accessories that complete an outfit. You can have the most beautifully painted cabinets in the world, but if you slap back those old handles, the whole look falls flat.
Hardware Trends That Actually Work:
Brass and Gold: Warm, sophisticated, pairs beautifully with white or navy Matte Black: Modern, sleek, works with almost any color Brushed Nickel: Classic, versatile, never goes out of style Mixed Metals: Advanced move, but stunning when done right

Troubleshooting Common Cabinet Painting Problems
Even with the best preparation, things can go sideways. Here’s how to fix the most common issues:
Paint Not Adhering Properly
Cause: Insufficient cleaning or wrong primer
Solution: Sand down, clean thoroughly, use bonding primer
Brush Marks Showing
Cause: Wrong brush or technique
Solution: Use high-quality synthetic brush, maintain wet edge
Color Looking Different Than Expected
Cause: Lighting differences or undertones
Solution: Test in multiple lighting conditions before committing
Beyond Basic: Advanced Cabinet Painting Techniques
Once you’ve mastered the basics, you can explore techniques that’ll make your kitchen look like it belongs in a design magazine:
Two-Tone Magic
Paint upper cabinets one color and lowers another. Classic combo: white uppers with navy lowers. Creates visual interest and can make ceilings appear higher.
The Accent Island
Keep most cabinets neutral but paint your kitchen island a bold color. It becomes a focal point without overwhelming the space.
Distressed and Antiqued Finishes
For those seeking farmhouse vibes, strategic distressing can add character. Use sandpaper on edges and corners after painting for a naturally worn look.
Maintenance: Making Your Paint Job Last
Painted kitchen cabinets require more care than their natural wood counterparts, but proper maintenance will keep them looking fresh for years:
Daily Care:
- Wipe spills immediately
- Use microfiber cloths for cleaning
- Avoid abrasive cleaners
Monthly Maintenance:
- Clean with mild soap solution
- Check for chips or wear spots
- Touch up as needed
Annual Care:
- Deep clean all surfaces
- Inspect hinges and hardware
- Consider protective wax application
The Resale Value Question: Does Cabinet Painting Pay Off?
Here’s the honest truth about ROI on painted kitchen cabinets: while you might not recoup every dollar spent, you’ll typically see 70-80% return on investment. More importantly, fresh cabinets make your entire kitchen feel updated, which helps with overall home appeal.
Real estate agents consistently tell me that kitchens with freshly painted cabinets photograph better, show better, and appeal to more buyers than those with dated wood finishes.
Seasonal Considerations: When to Paint Your Cabinets
Timing matters more than you might think. Best time to paint kitchen cabinets:
Spring/Fall: Moderate humidity, good ventilation weather
Avoid Summer: High humidity can affect drying times
Winter: Possible if you have good ventilation, but longer cure times
The Environmental Angle: Eco-Friendly Cabinet Painting
Sustainability is becoming increasingly important to homeowners. Eco-friendly cabinet paint options include:
- Low-VOC paints: Better indoor air quality
- Water-based formulas: Less environmental impact
Refinishing vs. replacing: Keeps cabinets out of landfills
Ready to Transform Your Kitchen Cabinets?
Painting kitchen cabinets is one of those projects that seems intimidating until you break it down into manageable steps. Yes, it requires patience, preparation, and attention to detail. But the payoff – both financial and emotional – is enormous.
Your kitchen doesn’t have to stay trapped in whatever decade it was installed. Whether you’re going for timeless white, dramatic navy, or something completely unexpected, the power to transform your space is literally in your hands.
The question isn’t whether you should paint your cabinets – it’s which color will make you smile every time you walk into your kitchen. What’s your cabinet transformation story going to be?
Ready to start your cabinet painting journey? Share your current cabinet situation and dream color in the comments – I’d love to help you plan your transformation!


Leave a Reply